Showing posts with label tim holtz die. Show all posts

Tuesday, March 8, 2011

A couple more pretty tags, Enjoy.

I really love that Tim Holtz masking tape!


Dollar store pins, there are so many to chose from!


I also love the stamp that makes it look like platters, it's from M's.

Flower pin, Dollar Store!


You can really see how they are all similar and unique at the same time.


Yes, these are definitely fun to make!


Cheers,
Viviana

Monday, March 7, 2011

Weekend Creations

 So after making a few different "glimmer" sprays, this is what I did with the test tags.

I love how the glimmer plays with the pearl and it works so well with the inked edges.


 There is no right or wrong way of making these tags. I used the lightest chipboard available, my Tim Holtz Tattered Flowers Die, My Tim Holtz Tag Die, a Spellbinders labels die, pearls and hat pins, Tim Holtz masking tape, various stamps and inks and my homemade "shimmer" mists. You can chose to use whatever adhesives you like, I tend to stick with (punny!) using glue dots and foam squares for immediate gratification! The best things about these is that you do what you want and no matter what, it still looks great!


The DIY Show Off
A Marvelous Mess


Enjoy and have a happy Monday,
Viviana

Sunday, March 6, 2011

Home Made Glimmer Mist and Even Glimmer Glam

As you all may have already figured out, I am a frugal crafter....I try to get it on sale, on clearance, with a coupon or even trade it. Sometimes I spend $$ when it is to save somewhere else. In this case, I bought some paints, full price (between 2.50 and 3.50 each!) but they did not break the bank.
When I saw this post, HomeMade Glimmer Mist by Shoegirl's Creations....I, of course had to try it. I have a huge issue with paying so much ($8-10) for something I can make for myself for ($1 or 2). I gathered up my supplies (she has a list of what you will need in there) and got making the stuff.


I chose 4 colours I did not have at all in my small and frugal collection of glimmer mists.

You can see the shimmer at the bottom of my mini mister.
This is the blue once it was dry.
The bottle I re-used was a nearly empty body spray mini, perfect for this project!

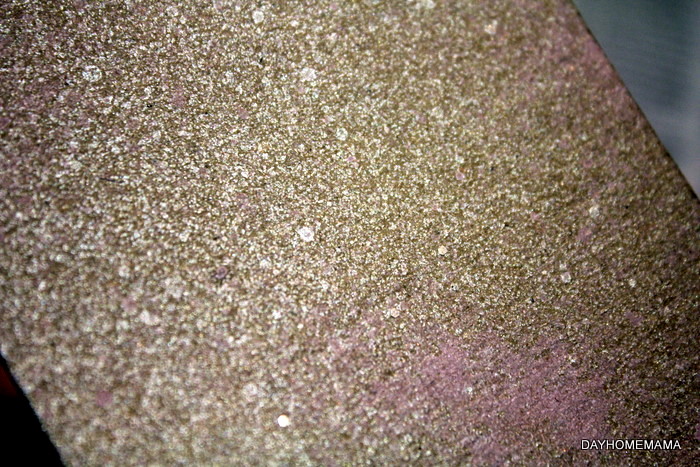
I sprayed them all on kraft chipboard, the shimmer of the green is a gorgeous golden green.
That was the pearly one, which is my fave, as it looks like the one called Marshmallow from Tattered Angels.
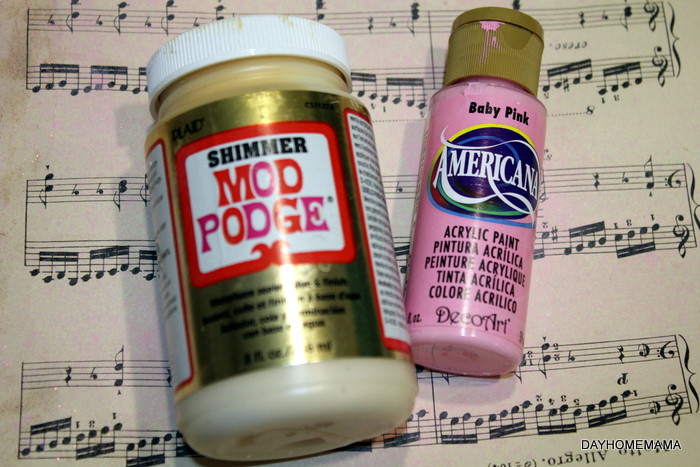
I made this one with paint and modpodge.
 Once I had made 3, I decided to venture out and try to make a matte mist, like the chalk ones Tattered Angels makes, I wanted something in pinky and pretty, so I used about 2 tablespoons of pink and one of Modpodge and I got the results I wanted.

I have a layer of green shimmer, then I masked it and added the pink matte spray, the results are stunning!
This is the Extreme Glitter diluted in the water.
I did the Extreme Glitter the same as all the others, I diluted it in water in a small jar, but I noticed the particles were much larger... *light bulb* ... just like Glimmer Glam!


It has the sparkle of Glimmer Glam, at a much smaller price.
So all of them are just diluted, nothing else in the mix. I did notice that they are of course not as pigmented as some of the real Glimmer Mists, but then again, I find that sometimes less is more. I am going to add some re-inker to the glimmer glam, to make it brighter...I'll see how it goes. Thus far, I am loving the results and the fact that I can make more when I run out. In the mean time, I have been creating all sorts, so come back and look later on, I'll show you what I've done!

I'm linking up to,


Also, I'm going to have to figure out how to make the Glimmer Glaze, how hard can that be??
Cheers,
Viviana

Sunday, January 30, 2011

Large Paper Rose Tutorial

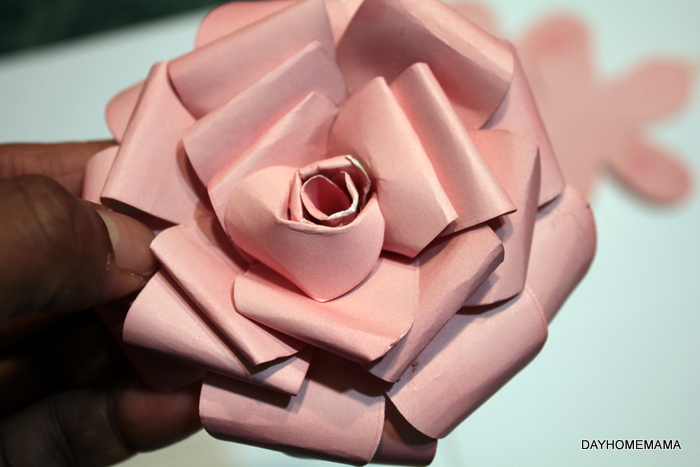
This is the finished flower before the chalk and the sparkles.
Super Sunday, it's early in the am and I'm not moving very fast....maybe it's the snow, slowing me down a bit! I am once again sharing my version of Tim Holtz's paper rose, but this time I am using my Big Flower die from Stampin' Up.


I cut out as many flowers out of a 12x12 sheet of paper, I used some old stuff I already had.

There's my pile, I wasn't sure yet how many layers I needed. I bought that paper for 10c a 12x12 sheet at Scrapbookers Paradise, It's good to have on hand for projects like this, so if you mess up, it's not $1.50 paper!

I then used my chalks (I'm all for using what you have on hand) or you can use distress inks, I just haven't bought any because I already have so many other media I can use to tint and colour with.

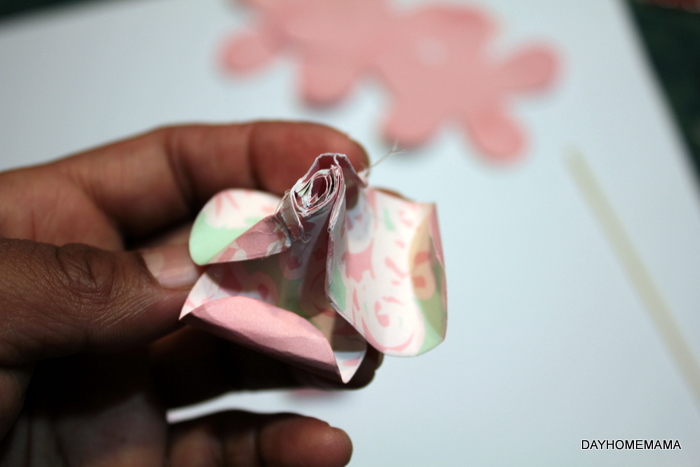
So this is where the tutorials meet, I cut out the pieces the same as I did for the smaller roses, so that I had 1, 2, 3, 4 and three with 5 petals. Those ended up being all the layers I needed for a full rose

I used a pencil to curl my petals, since this flower is much bigger a skewer was too small. The 1 and 2 petals I curled in wards, the rest out.

I used hot glue to add each layer, I am not patient enough for liquid glues and I like the instant bond too!

This is the back so far, I snip off bit so the rose will be slightly flatter.

I then chalked some more, you can also ink if you like. It gives it more depth and definition and adds dimension.

Then instead of Stickles, I use spray adhesive (instant bond again!!) and some sparkles to give it a beautiful glow.
I love these chunky iridescent sparkles.
So that's it, pretty straight forward. You can always use the other Rose Tutorial for a step by step guide, it's pretty much the same but as you can see this is the size of my hand. I am using it for a "welcome to out home" sign and I will post the finished project when I get it done....

Have a happy sunday,
Viviana


Thursday, January 20, 2011

Pretty Paper Slippers

You know when you're dying to try something, but really have no reason to? Yeah, well that's where these came from. I loved them when I saw them Artful Affirmation, where she has a template you can use and a video tutorial too, which is awesome for you visual types. I hear a  lot of people do exchanges of these pretty shoe slippers, and giving them in gifts would be absolutely fabulous....so I had give them a try. I love how they turned out.

Cheers,
Viviana

I trimmed mine with feathers and velvet ribbons.

I used a handmade paper rose, and the accordion folded paper is from the rosette die.


This one has a rosette with a button middle.

I put a back on both of them, it definitely makes them look more elegant.  

LinkWithin

Related Posts with Thumbnails