So, I decided to make one.
My ingredients list for the "base" go as follows,
Cardstock for the pages, pads are great for this.
Chipboard (I used very lightweight stuff, next time I'll use heavier stuff!!)
Coverstock for printing
Paper bags (I used super long sine bags)
Envelopes
Page protectors
Random papers and tags


I used my Fiskars rotary trimmer (so I could trim 6-8 cardstock pages at one time) to trim my pages down to 8x10 from 8.5 by 11. I also trimmer the covers to 8.5 by 10 1/2 so they fit properly after I punched and bound them with my Zutter.

I printed up lots of ephemera pages from The Graphics Fairy and from JSIM, both websites have lots of freebie images to add to the pages.I used the coverstock for these, since it's heavy enough to handle stuff attached to the paper and I had it in a cream colour, to go with the vintage feel of the book.
 |
| If you click on the image, it will take you straight to the blog it came from, The Graphics Fairy. |
 |
| Another one of the images I used. |
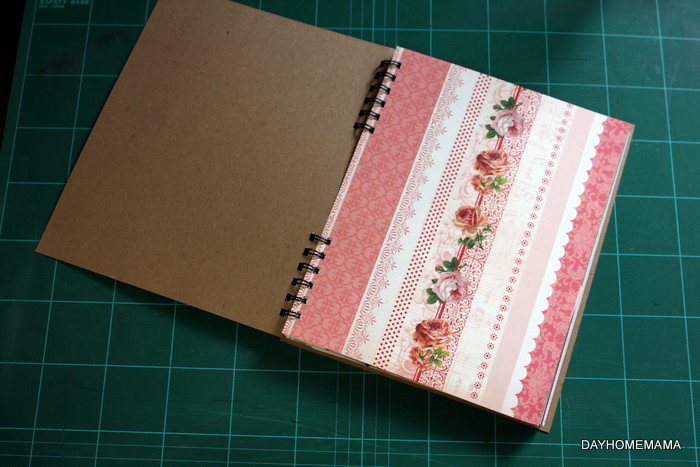 |
| The inside front cover, I love roses so this had to be at the forefront of my Smash. |
 |
| Again, another great ephemera image from the Graphics Fairy. |
 |
| I think this page looks perfect! |
 |
| I printed this with one right side up and the other upside down, adds to the charm. |
I have made a youtube video for my SMASH book, this is my first real video...so bear with me, I am not an expert yet! Once I figure this whole "editing" thing out, I am sure they will get much better.I am just working on part 2. You'll see the progress in that video.
Anyhow, time to run and make dinner. The kid is getting hungry.....
Cheers,
Viviana
Just linking up to a few blogs,