Showing posts with label die cut. Show all posts

Sunday, January 30, 2011

Large Paper Rose Tutorial

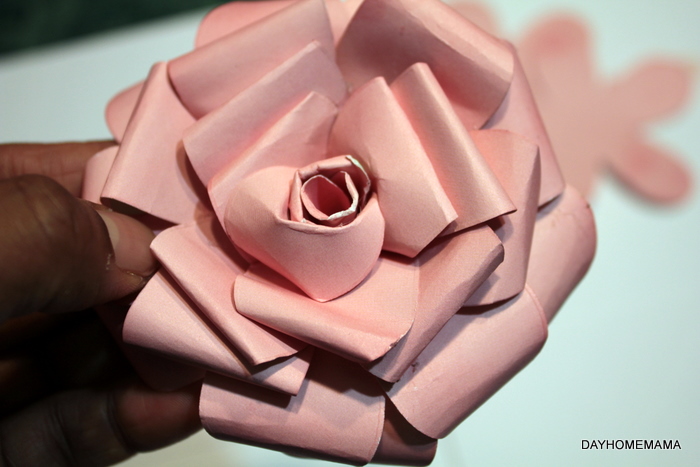
This is the finished flower before the chalk and the sparkles.
Super Sunday, it's early in the am and I'm not moving very fast....maybe it's the snow, slowing me down a bit! I am once again sharing my version of Tim Holtz's paper rose, but this time I am using my Big Flower die from Stampin' Up.


I cut out as many flowers out of a 12x12 sheet of paper, I used some old stuff I already had.

There's my pile, I wasn't sure yet how many layers I needed. I bought that paper for 10c a 12x12 sheet at Scrapbookers Paradise, It's good to have on hand for projects like this, so if you mess up, it's not $1.50 paper!

I then used my chalks (I'm all for using what you have on hand) or you can use distress inks, I just haven't bought any because I already have so many other media I can use to tint and colour with.

So this is where the tutorials meet, I cut out the pieces the same as I did for the smaller roses, so that I had 1, 2, 3, 4 and three with 5 petals. Those ended up being all the layers I needed for a full rose

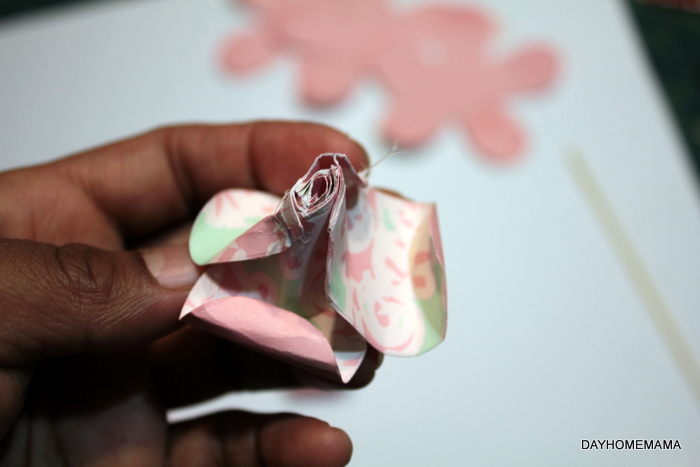
I used a pencil to curl my petals, since this flower is much bigger a skewer was too small. The 1 and 2 petals I curled in wards, the rest out.

I used hot glue to add each layer, I am not patient enough for liquid glues and I like the instant bond too!

This is the back so far, I snip off bit so the rose will be slightly flatter.

I then chalked some more, you can also ink if you like. It gives it more depth and definition and adds dimension.

Then instead of Stickles, I use spray adhesive (instant bond again!!) and some sparkles to give it a beautiful glow.
I love these chunky iridescent sparkles.
So that's it, pretty straight forward. You can always use the other Rose Tutorial for a step by step guide, it's pretty much the same but as you can see this is the size of my hand. I am using it for a "welcome to out home" sign and I will post the finished project when I get it done....

Have a happy sunday,
Viviana


Friday, October 29, 2010

Paper Roses with an old and still useful punch! -With Awesome Tutorial!

I was looking on you tube at a few tutorials for making paper roses, and almost all require you to cut your paper with a Cricut/Expensive machine, or even a Big Shot/Die cutter (I have one and the dies I could use), however I wanted to do a tutorial to show that even if all you have a is a punch, you can still make them and they turn out just as beautiful!

I Started with an EK success paper shaper I've had for years! The blossoms it punches out are about 2.5 inches in width, perfect for my projects. I don't want my roses too big, but any smaller might be harder to work with.

I then cut out 4, where most tutorials did three, I like my roses a little fuller and 4 gives me the right amount of layers for these roses.

The next step is to cut each one up, as you can see you get the layers that go from one to 5 petals.  Each one fits right onto the next when we get to the gluing process.

I then use a skewer (you can also use a little paint brush end or a pencil, to curl my pieces, you can see some are curled lengthwise, the other just curled under, the paper pattern gives them dimension (I used some old K and Co paper I had on hand) and I love the vintage look too.

Once this was done, I went and used the hot glue gun because it's fast and super easy, just don't burn yourself.


I did one layer at a time carefully adding just a tiny dab of glue, since it's easier to add more where needed rather than try to remove a big glob of it.

I don't worry too much about the threads of glue just yet, I generally clean up my stuff with tweezers after. Once you have layers all glued and folded and curl how you want them, you can trim the back end, and use a glue dot to adhere to your project.


I used stickles on mine, since they will go one some of my Christmas and Victorian looking ornaments.

You can see in the picture that a rose made with 3 punches doesn't look as pretty as the next one (darker one) made with 4 punches. I am gonna go punch out a few more and cut and get them ready, great to do while watching TV!


Cheers, have fun crafting!
Viviana

Saturday, September 25, 2010

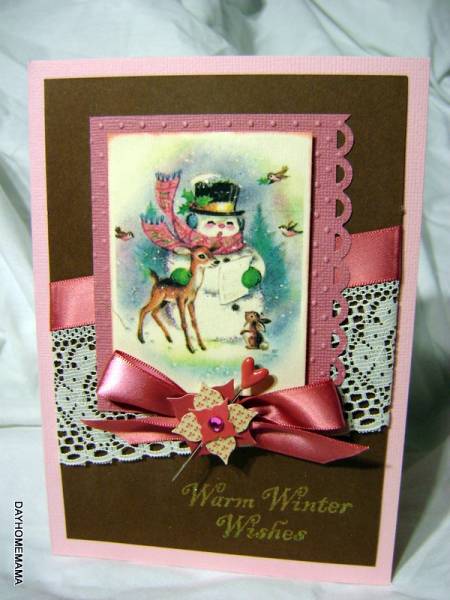
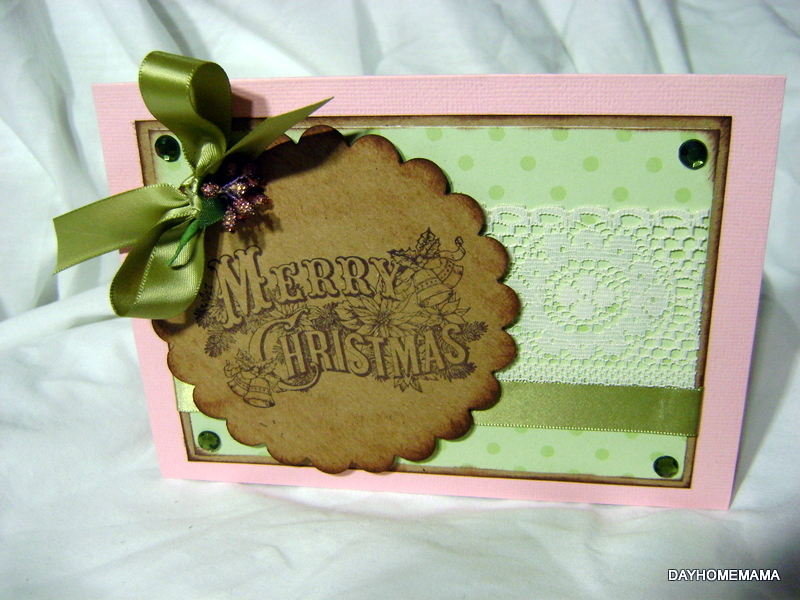
Got Some Cards Done, Finally!

The fact that I have been busy making cards can only mean one thing, winter is coming....oh and having a cold means I'm housebound only motivated to create, not clean or do housework....yeah!


It feels good, it makes me happy!

Cheers,
Viviana
Thursday, December 3, 2009

More!


I wanted to share this with you all, doesn't it look adorable? I used to have a glass ball hanging on that brass thingy, but I traded it in for something much sweeter, what do you think?
For the tutorial on the ornament, go see Heather's Blog, Lark and Lola, where you will find all kinds of happy, she has some great ideas, freebie images and turorials.


I am always amazed when I make something from a tutorial and it actually turns out better than I imagined, because I really have a hadr time sticking to specific instructions. However, I love the resuls of this little box, for which I got the tutorial from Splitcoast Stampers (also on YouTube) on making a Top Note Die Box. I don't own a ScorPal, so I used my scoring blade on my sling cropping thingy, and it worked perfectly. The tutorial video is great, and takes you step by step through the making of the box and embellishing it. As always, I changed a couple of things, to suit my liking, and they turned out exceptionally well.


Some of the boxes will hold 3 tea lights, which I will include with those great bowls I showed you all in one of my other postings. I think they look great and hopefully, will be kept for storing the tea lights or other Christmas trinkets people like to keep in mini boxes.


Recognize these? Prima flower jars, I wondered what to do with so many and I wanted to recycle them, find them a new use and well....they turned out perfect for mini All-Sorts, which I plan to give to the mail lady, the office Manager where I live, and the maintenance guy too. I will post a couple more pics when I'm done my other projects.


Thanks for looking!
Cheers,
Viviana
Tuesday, December 1, 2009

T'is the Season!

Ok, I love this tag! Read more about them at the bottom.


In the recent months I created lots of wondeful cards, tags and tons of other items and proceeded to stock my ETSY store to the gills really, expecting to do well this season. With sales being less than stellar, and time passing way too quickly for my liking, I decided to get started on making a few things for our family, friends and neighbours and concentrated the past few days and spare hours making some really sweet things for us rather than the store.


For all the kids in the family, I've made these cute little brooches. I am obsessed with using my die cutters for as much as possible, let's just say I'm getting my moneys worth out of that wonderful Big Kick (Big Shots older brother!).

I used felt for these and I added the bar pin behind the felt so it will last for a long time. I used these cute snowflakes I found last year at the dollar store and rhinestones from Michaels. I'm happy with them, hope the kids like them too.

So this was my 2 day project, I spent one day folding the rosettes, the next putting together the die cuts and punch outs and hot gluing it all together.

Now, the idea was lifted from LARK AND LOLA's blog, from a tutorial called Antique Music Rosette Ornament Tutorial. Although I didn't have the antique music sheets, I did have a vintage Websters dictionary with yellowed pages, perfect for this project. I used some of the same and similar chipboard die cuts from K and Co, I got them from Michael's. I know that they are supposed to be ornaments, but I will be using mine as tags for all the handmade gifts I'm giving out this year. Brown paper packages tied up with string......oh my, these will look wonderful on the gifts!


Anyhow, I am getting more and more excited about this season, I love the snow, the twinkling lights and of course, the art of giving!

Cheers,
Viviana

LinkWithin

Related Posts with Thumbnails